

The hour has come for the conclusion of my series of articles about building Pluto, a robot prototype controlled remotely via Wi-Fi connection and a browser. In the previous entries we constructed the robot and prepared the server side. Today’s conclusion will cover attachment of a camera and setup of real-time video streaming to the said browser.
As a matter of fact, this task was one of the simplest in the entire process of Pluto’s creation. I used a standard Raspberry Pi Camera Module V2. It’s quite easy to connect it to the Raspberry Pi, just make sure that the camera cable is plugged in correctly.

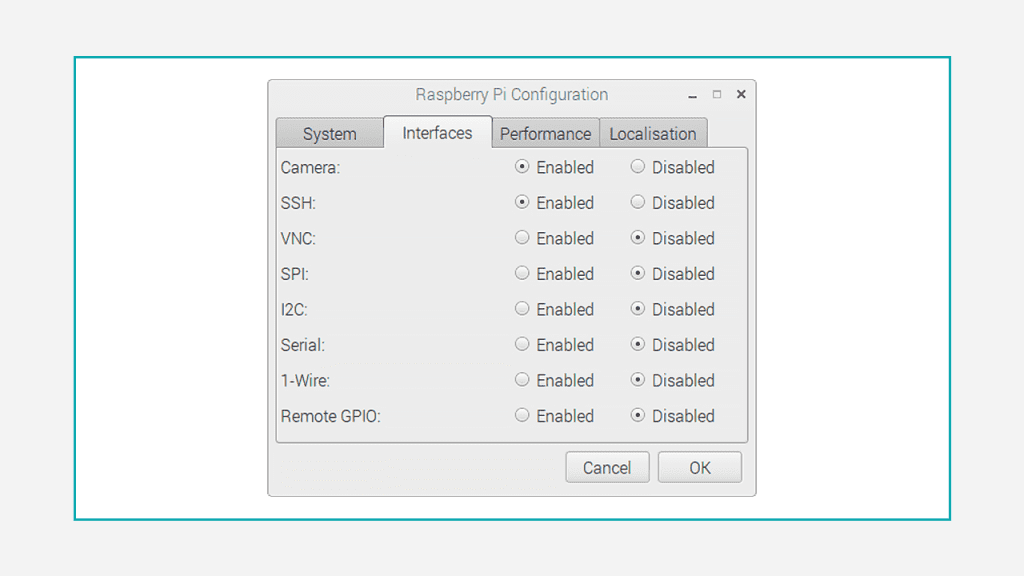
Don’t forget to activate camera support in the settings of your Raspberry Pi, having connected via VNC.
I tried out several good scripts to work with the camera on Python; in particular, this script from the official tutorial, which allows to get a snapshot from the camera and save it to the desktop.
from picamera import PiCamera
from time import sleep

camera.start_preview()
sleep(5)
camera.capture('/home/pi/Desktop/image.jpg')
camera.stop_preview()
It became clear from the beginning that custom implementation of video streaming would not be an easy task. Fortunately, I quickly found an off-the-shelf solution, a library RPi-Cam-Web-Interface.
Follow the tips to install the library (launch all mentioned commands on the Raspberry Pi). It is necessary to set a couple of parameters during the installation.

It is important to indicate the camera directory and port 80, since both of these parameters have influence on the eventual address of the camera.
After the installation you can open http://YOUR_RASPBERRY_PI_IP/camera and enjoy the views from your robot’s camera. Then you need to add a window with streaming to the control panel. The simplest solution is the add the said page as a frame on the control panel. You may add the following code to the file templates/index.html:
<iframe src="" style="width:100%; height:800px;" frameBorder="0"
id="camera-iframe" />
<script>
$(function () {
 $('#camera-iframe').attr('src', 'http://'
+ window.location.hostname + '/camera/');
});
<!--script>
I used JavaScript to initialize the iframe source, in order to retrieve the server address automatically, in case the IP address changes (this can also be made from the Python when the page is generated). Now, the control panel: http://YOUR_RASPBERRY_PI_IP:5000
This is it. Pluto is ready. It can bring you coffee or entertain your friends and clients with a virtual journey in your office. Well, the choice is yours here.
In order to make the robot accessible from outside (from any spot with Internet access), you have to have some system administration skills and a static IP address. However, it’s a topic worth a separate article.
Meanwhile, connect the batteries, enter the control page… and let it roll!
The full working code can be found here.


